Want to build your own fire pit? Using old bricks is the smartest way to do it. There are dozens of fire pits we have constructed over the years, and reclaimed bricks always perform well. They are durable, stylish, and will not strain your wallet. We will demonstrate to you how to construct one as durable as decades.
Why Old Bricks Make the Best Fire Pits
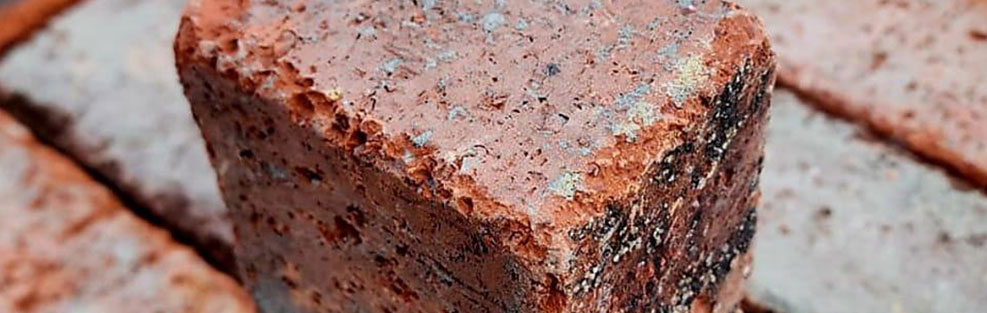
Here’s something most people don’t know – old bricks handle heat better than new ones. As they have already gone through decades of weather changes. Hot summers, freezing winters, and all that is in between. This renders them ideal for fire pits. They won’t crack when things get hot. And they won’t crumble when winter frost hits.
Plus, each brick has its own story. Some might have paint marks from old houses. Others show gentle wear from years of use. This gives your fire pit a character you can’t buy anywhere else.
The cost savings are huge, too. New fire bricks can cost $2-3 each. Good reclaimed bricks? Often half that price.
What You Need to Build Your Fire Pit
Let’s keep this simple. Here’s your shopping list:
| Item | How Many | Why You Need It |
| Reclaimed bricks | 80-100 pieces | Main structure |
| Fire-safe sand | 3 bags | Base layer |
| Gravel | 2 bags | Drainage |
| Steel ring liner | 1 piece | Inner protection |
| Shovel | 1 | Digging |
| Level | 1 | Keeping rows straight |
The steel ring isn’t a must-have, but we always use one. It protects your bricks from direct flame contact. This makes everything last longer.
Step 1: Pick the Perfect Spot
Location matters more than you think. Go around in your yard and have some thoughts.
Keep at least 10 feet distance between you and your house, shed or fence. Fire pits spurt sparks, and you do not want to be surprised.
Avoid spots under tree branches. Even high branches can catch stray sparks.
Pick somewhere flat if you can. Sloping ground makes building much harder.
Think about seating too. You’ll want space for chairs around your fire pit.
Step 2: Mark Your Circle
Most fire pits work best at about 3 feet across. That’s big enough for a good fire but small enough to manage easily.
Use spray paint to mark your circle. Or tie a string to a stake and walk around it with flour. Both methods wash away easily if you change your mind.
Step 3: Dig Your Base
This is the hardest part, but don’t skip it. A good base makes everything else easy.
Dig down about 6 inches deep. Make your hole about 6 inches wider than your marked circle. So for a 3-foot fire pit, dig a 4-foot hole.
The extra width gives you room to work. Trust us, you’ll need it when placing bricks.
Step 4: Build Your Foundation
Pour gravel into your hole. Make it about 2 inches deep. This helps water drain away from your fire pit.
Wet the gravel and compact it down with your shovel handle. You want it firm and level.
Add sand on top of the gravel. Another 2 inches should do it. Level this out too.
Step 5: Start Your First Row
This row sets everything up. Take your time and get it right.
Place your first brick at any spot on your circle. Then work your way around, placing each brick tight against the next one.
Don’t worry if the circle isn’t perfect. Fire pits look better with slight irregularities anyway.
Check each brick with your level. They should all sit at the same height.
Step 6: Build Up Your Walls
Now comes the fun part. Start your second row, but here’s the key – offset each brick.
If the first row has a joint between two bricks, place the second-row brick right over that joint. This makes everything much stronger.
Keep building up. Most fire pits work well with 3-4 rows of bricks.
Leave small gaps between some bricks in your bottom row. These help air flow into your fire. Good airflow means better fires.
Step 7: Add Your Steel Ring (If Using One)
Drop your steel ring into the center. It should sit on your sand base with the top edge level with your brick walls.
If it’s too high, scoop out some sand. Too low? Add more sand underneath.
The ring protects your bricks from the hottest part of the fire. This makes your fire pit last much longer.
Step 8: Fill and Level
Add more sand around your steel ring. Fill any gaps between the ring and your brick walls.
This sand helps everything stay stable when the fire gets hot.
Different Fire Pit Styles You Can Try
Simple Circle – Just a basic round shape. Easy to build and always looks good.
Square Design – Uses fewer bricks and fits well in corner spaces.
Double Wall – Two rings of bricks with sand between them. Gives extra insulation.
Built-in Seating – Extend one section to create a brick bench. Kids love this style.
Where to Find Quality Reclaimed Bricks
Clinker bricks in Melbourne are everywhere if you know where to look.
Check demolition sites first. They often have huge piles of bricks from old buildings. Always ask permission before taking any.
Online marketplaces like Facebook and Gumtree always have people selling bricks from home renovations.
Local brick suppliers often stock cleaned, ready-to-use reclaimed bricks. They cost more but save you cleaning time.
For recycled bricks in melbourne, options, dedicated recycling yards usually have the best selection and quality.
Safety Tips Everyone Should Know
Never use your fire pit on windy days. Sparks can travel much further than you think.
Keep a bucket of water nearby. Not just for putting out the fire, but for any stray sparks too.
Don’t burn treated wood, plastic, or anything with paint. Stick to natural wood only.
Let everything cool completely before leaving. Even small embers can restart hours later.
What Your Fire Pit Will Cost
Here’s the realistic breakdown:
- Reclaimed bricks (80 pieces): $40-60
- Sand and gravel: $25-35
- Steel ring liner: $30-50
- Tools (if needed): $40-60
Total project cost: $135-205
Compare that to buying a ready-made fire pit at $300-500, and you’re saving serious money.
Making Your Fire Pit Last Forever
Clean out the ash after every few uses. Built-up ash holds moisture against your bricks.
Check for loose bricks each spring. A quick push usually fixes any that have shifted.
Replace the sand every couple of years. Fresh sand drains better and looks cleaner.
If you used a steel ring, inspect it yearly for rust spots. A bit of high-heat paint fixes most problems.
Common Problems and Quick Fixes
Bricks cracking? Usually means they got too hot too fast. Let fires build up slowly next time.
Water pooling inside? Your drainage isn’t working. Add more gravel under the sand base.
Smoke blowing everywhere? Check your air gaps. You might need more openings in the bottom row.
Fire won’t stay lit? It could be wet wood, but also check if ash is blocking airflow.
Why This Project Works for Everyone
We love recommending fire pit projects because they’re so forgiving. Made a mistake? Just pull out a brick and try again.
You can build it over several weekends, too. Do the digging on Saturday, and place bricks the next weekend.
The skills you learn here work for other projects too. The same techniques are used with garden walls, raised beds, and even low retaining walls.
Final Thoughts
The fire pit constructed using reclaimed bricks is something special. Whenever you start a fire, you will be proud of the construction you made.
The antique appearance of the old bricks is perfectly suited to the home feel of a backyard fire. New substances simply cannot compete with such cosiness and personality.
Take your time with the foundation work. Everything else gets easier when your base is solid and level.
Ready to start your project? Pick up some reclaimed bricks this weekend and get building. Your first marshmallow roast is just a few days away!